Hello friends! Matt and I are off to the beach for his birthday weekend trip right now, so in the meantime I have another post in the “How to Take Better Food Pictures” series my high school friend Ben is writing for me!
Want to save this post?
Enter your email below and get it sent straight to your inbox. Plus, I'll send you great content every week!
This installment is all about controlling your ISO. I’m guilty of taking all my photos on auto, so I know I’ll find this post useful! Hope you guys do, too. And if you missed the first two posts in this series, check those out first:
- How to Take Better Food Pictures Part 1: Ditch the Flash
- How to Take Better Food Pictures Part 2: Stabilize Your Shot
Enjoy!
–
How to Take Better Pictures of Your Food
Part 3: Control Your ISO
by: Ben Powell
–
In my last post, we talked about tips for stabilizing your shot so that your photos could be taken in low-light and still be sharp. Today we’re going to start picking apart some of the technical aspects of your camera. Today’s tip: Control your ISO. What could ISO be, that it warrants its very own button on your point and shoot? Photography is all about capturing light. ISO (along with Aperture and Shutter Speed) is a tool to help you manipulate your camera to capture light in a manner that is ideal for your shooting situation.
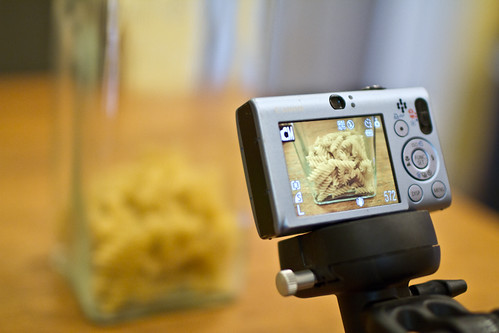
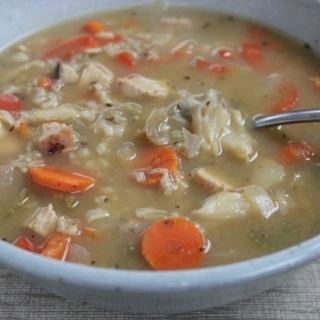
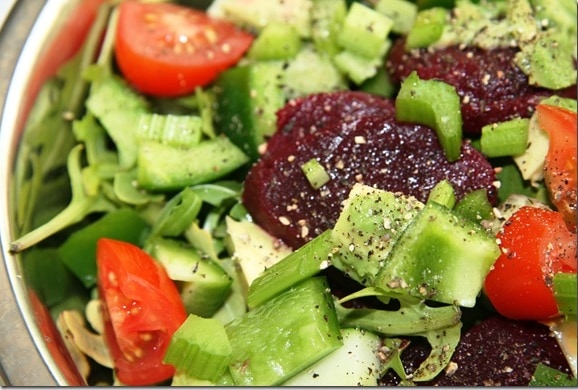
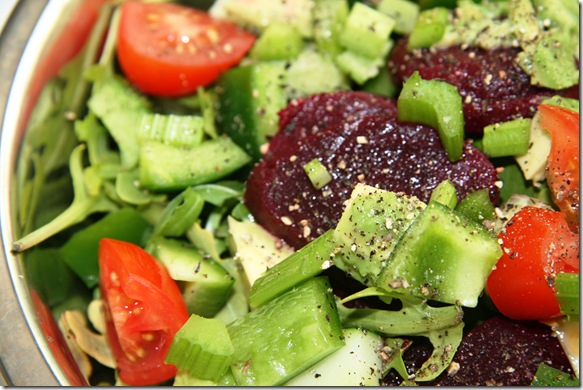
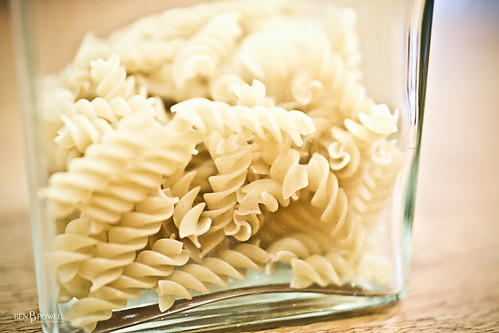
ISO, in simple terms, is how sensitive your camera is to light. The lower the number, the less sensitive (pictures will be darker) and the higher the number, the MORE sensitive (pictures will be brighter). Check out these photos I took below. The ONLY difference is the ISO setting. One is taken at ISO100, and the other is taken at ISO3200. What a difference, huh?

ISO100
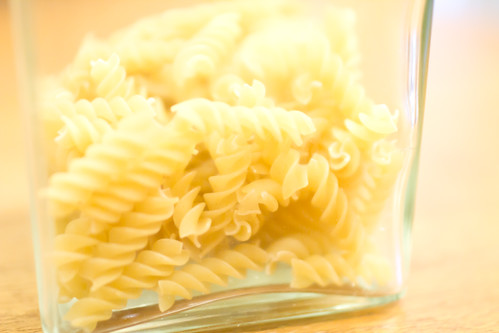
ISO3200
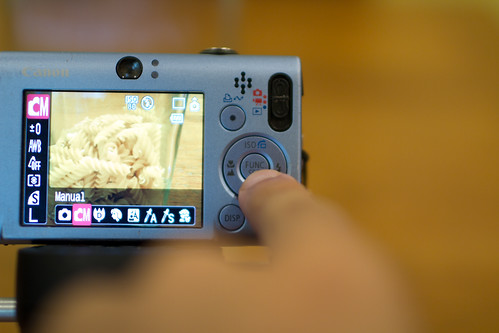
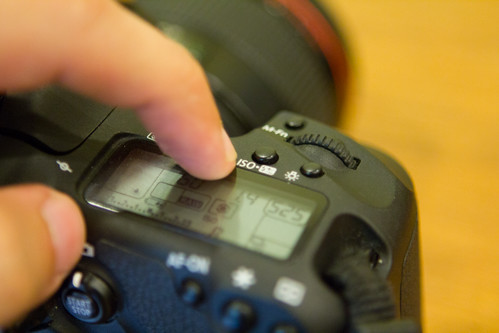
Hit the Center Button, then scroll left or right until you select “M” for Manual
Once the camera is in manual mode, you can now push the ISO button to bring up your options. The camera will compensate other settings based on what you set the ISO to be.
Canon Powershot

Canon Rebel t2i
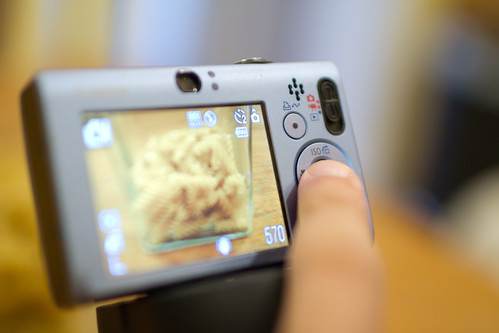
Canon 7DCheck out these photo comparisons and see how the other settings change (automatically to compensate for more light sensitivity) as I change the ISO?

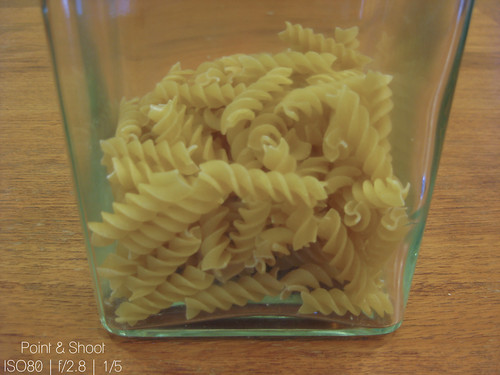
ISO80 — Notice the Motion Blur (red camera icon) Warning

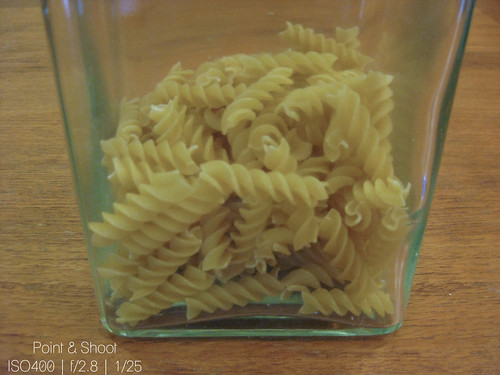
ISO400 — No More Motion Blur Warning!
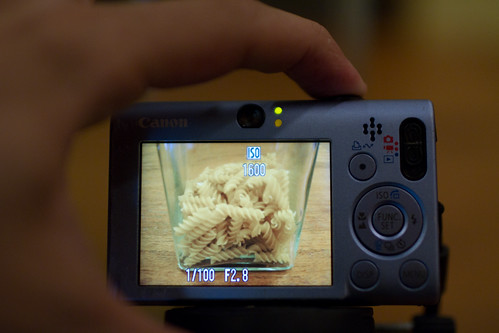
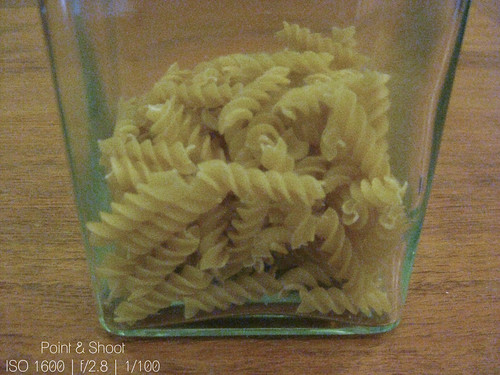
ISO1600
It’s okay if you don’t know what those other things mean. In practical terms, by changing the ISO you can take photos without flash AND without a stabilizer. Look back at the photos above and see how there is no “warning” on the higher ISO settings? Here’s the downside: that extra sensitivity doesn’t come without a price. Your images will be much grainier and noisier the higher you push your ISO. You can already sort of tell, but lets look at those same 3 photos in the same order, but cropped (zoomed in the computer) all the way.
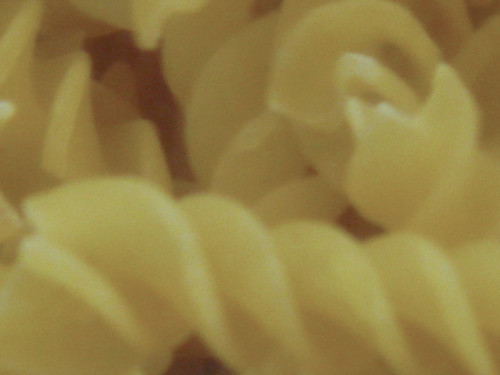
ISO80
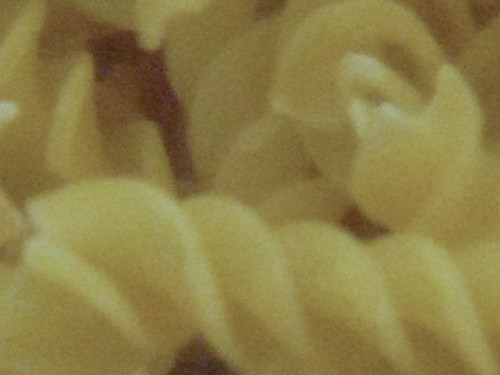
ISO400
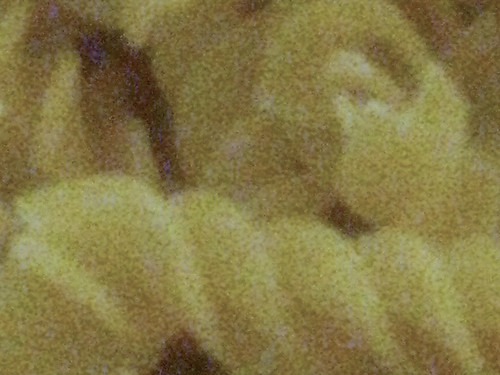
ISO1600
Eww. Even my DSLR looks pretty bad when pushed to the limit (mind you, its limit is ISO12800, as opposed to the Point & Shoot’s ISO1600 max).

ISO: 12800 — Almost Hard to Tell What You’re Looking At
In order to get the absolute best image you can, you want to set the ISO to be as low as it can (reasonably) go. Your camera will not default to a low ISO unless you’re outdoors and a very bright day. By manually forcing it to shoot at a low ISO, even indoors, you are forcing it to also get the cleanest noise-less image it can. Because you’re using your tripod + 2 second timer trick AND your food is stationary, you should be able to squeeze out the cleanest images your camera can get and still have it be well exposed. Each camera reacts differently to different ISO settings. Be sure to play around with yours until you find where your personal tolerance is for noisy pictures. The cleaner your pictures are straight out of the camera, the better!
Voila!
 ISO 100
Have any specific questions you want answered or topics you want covered in my next photography guest post? Just leave them in the comments below!
———-
Ben is a freelance photographer and musician in the DC Metro area.
Learn more about him here: http://www.about.me/benpowell
Check out his photography business here: http://photography.benpowellmedia.com
And follow his project365 here: http://www.starvingartistry.net
———
Thanks, Ben! I hope you all have a great Friday — catch you guys later from the coast 🙂